Introduction
Keeping the air filter in your AC unit clean is essential for maintaining good air quality and efficient cooling. Over time, the air filter can become clogged with dust, dirt, and other debris, which can hinder the airflow and reduce the unit’s performance. Regularly replacing the air filter is a simple task that can be done by following a few easy steps. In this article, we will guide you through the process of replacing the air filter in your AC unit in a step-by-step manner.
Step 1: Turn off the AC Unit
Before you begin the process of replacing the air filter, it is important to turn off the AC unit. This will prevent any accidents or injuries while you are working on the unit. Locate the power switch or circuit breaker for your AC unit and switch it off.
Step 2: Locate the Air Filter
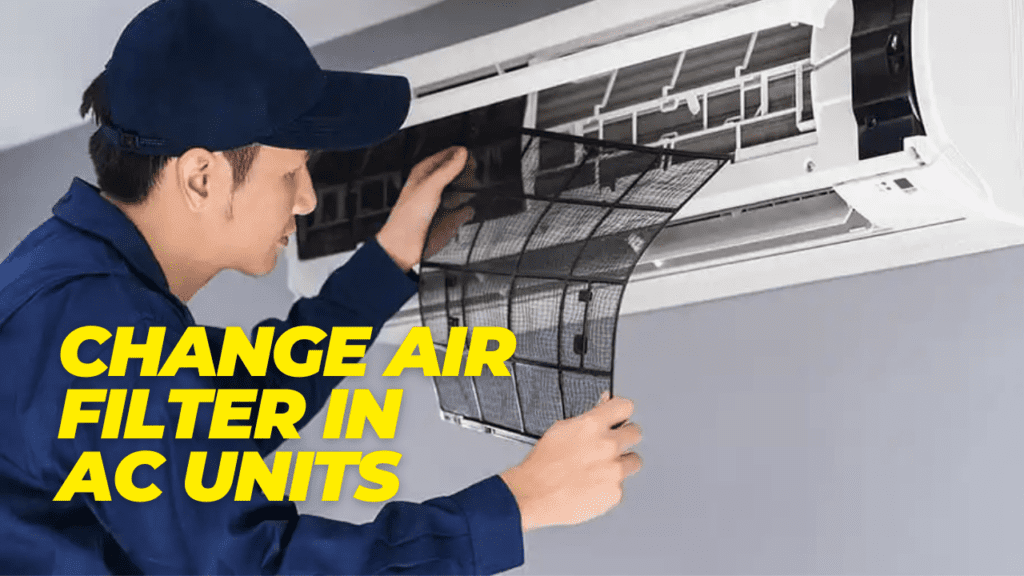
The next step is to locate the air filter in your AC unit. The air filter is usually located near the air intake vent or the blower compartment. Refer to your AC unit’s manual if you are unsure about the exact location of the air filter.
Step 3: Remove the Old Air Filter
Once you have located the air filter, carefully remove the cover or panel that is securing it in place. In most cases, you will need to unscrew or unclip the cover to access the air filter. Take note of how the old air filter is positioned so that you can install the new one correctly.
Step 4: Dispose of the Old Air Filter
After removing the old air filter, it is important to properly dispose of it. The old air filter may be filled with dust and other pollutants, so it is best to seal it in a plastic bag before discarding it. This will prevent any contaminants from spreading into the air.
Step 5: Clean the Air Filter Housing
Before installing the new air filter, take a moment to clean the air filter housing. Use a soft brush or a vacuum cleaner with a brush attachment to remove any dust or debris that may have accumulated in the housing. This will ensure that the new air filter can function optimally.
Step 6: Install the New Air Filter
Now it’s time to install the new air filter. Take the new air filter out of its packaging and carefully slide it into the air filter housing. Make sure that the air filter is positioned correctly, following the same orientation as the old air filter. Double-check that the filter is securely in place before moving on to the next step.
Step 7: Replace the Cover or Panel
Once the new air filter is installed, reattach the cover or panel that you removed in step 3. Make sure that it is secured tightly to prevent any air leaks. If there are any screws or clips, tighten them securely but be careful not to overtighten and damage the unit.
Step 8: Turn on the AC Unit
With the new air filter in place and the cover or panel securely attached, it’s time to turn on the AC unit. Go back to the power switch or circuit breaker that you turned off in step 1 and switch it back on. Allow the AC unit to run for a few minutes and check if the airflow is smooth and the unit is cooling properly.
Conclusion
Regularly replacing the air filter in your AC unit is a simple yet important maintenance task. By following the step-by-step guide outlined in this article, you can easily replace the air filter and ensure that your AC unit operates efficiently and provides clean air. Remember to check and replace the air filter at least once every three months or as recommended by the manufacturer. This will not only improve the air quality in your home but also extend the lifespan of your AC unit.